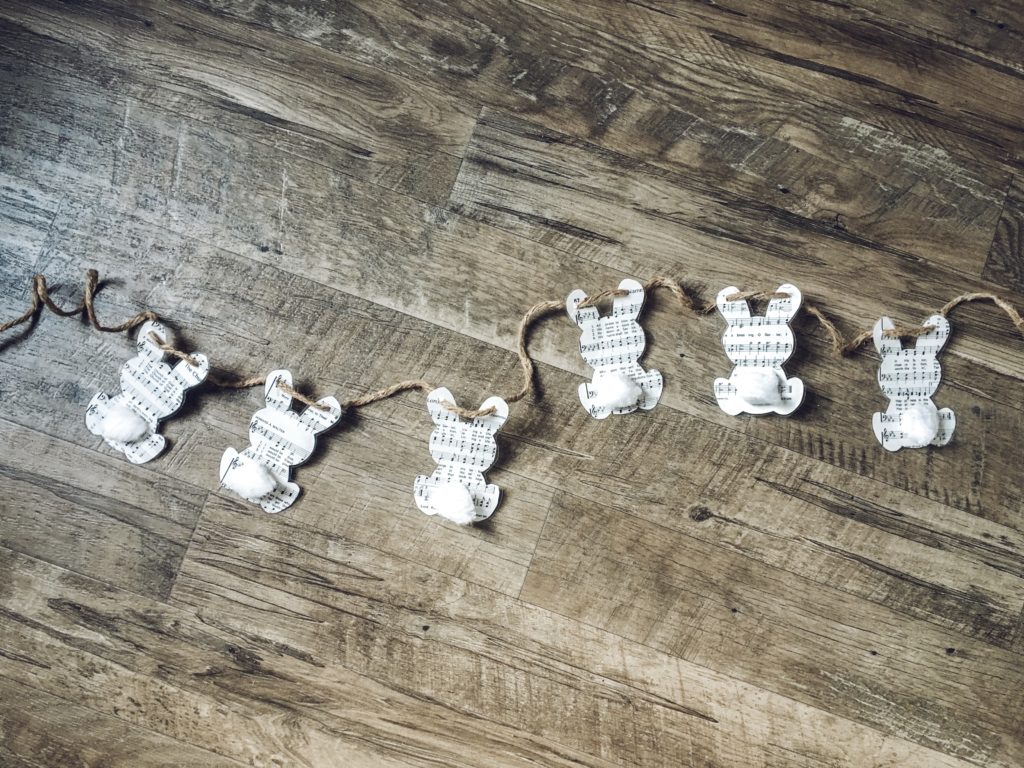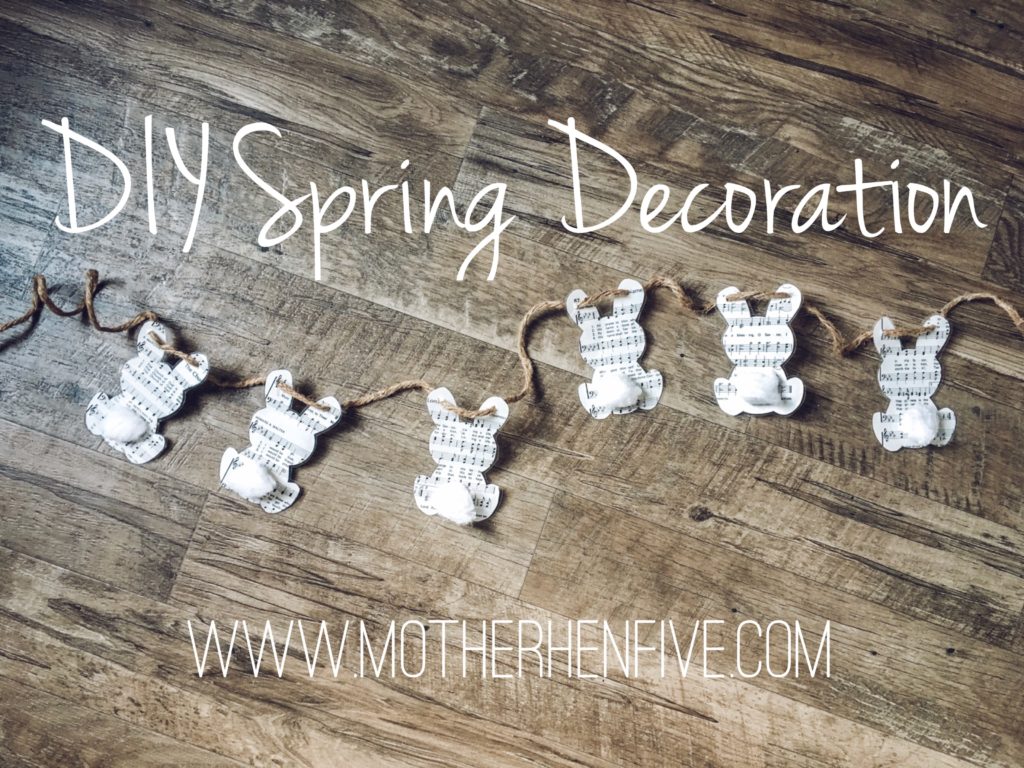
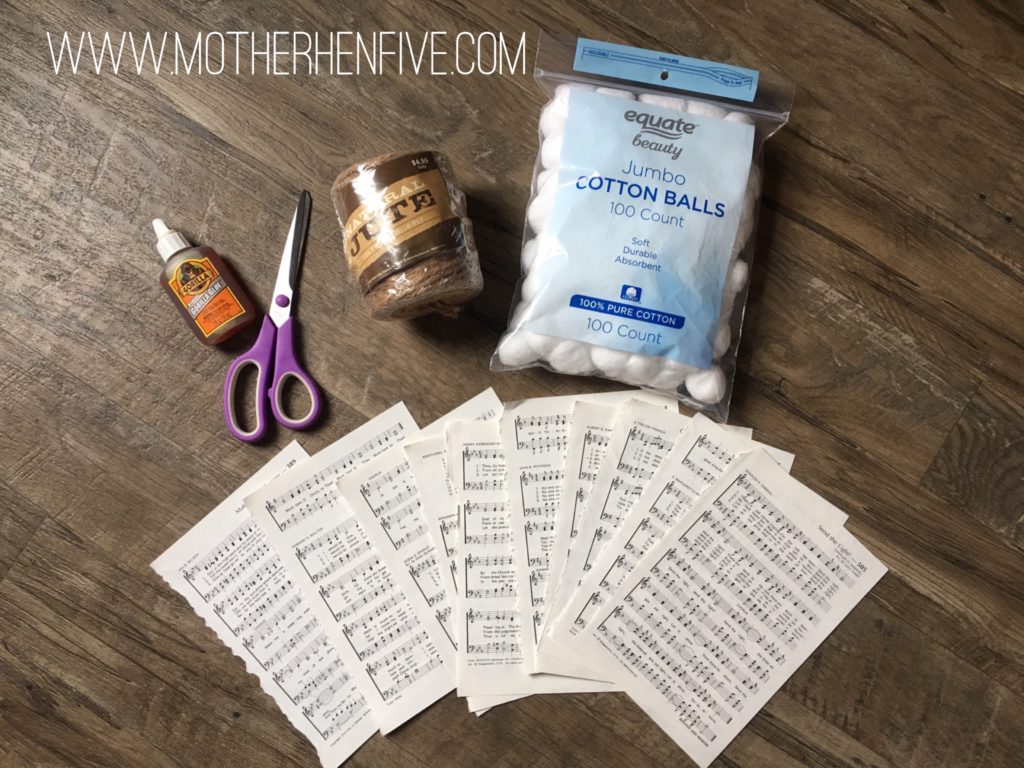
Spring is officially here! I do not often decorate for spring, but after our cold snow filled winter, IM EXCITED about Spring! I saw this DIY Craft the other day and had some ideas to improve and so I took the time and made this adorable bunny garland for Spring! I had almost everything I needed on hand and it only took about two hours, with AnnaLynn inturptions! So glad I took the time to make this and I’m excited to have it in my Spring home wardrobe! Here are the supplies you need! (You do not have to use song sheets! I think an old newspaper or colored paper would be just as cute!)
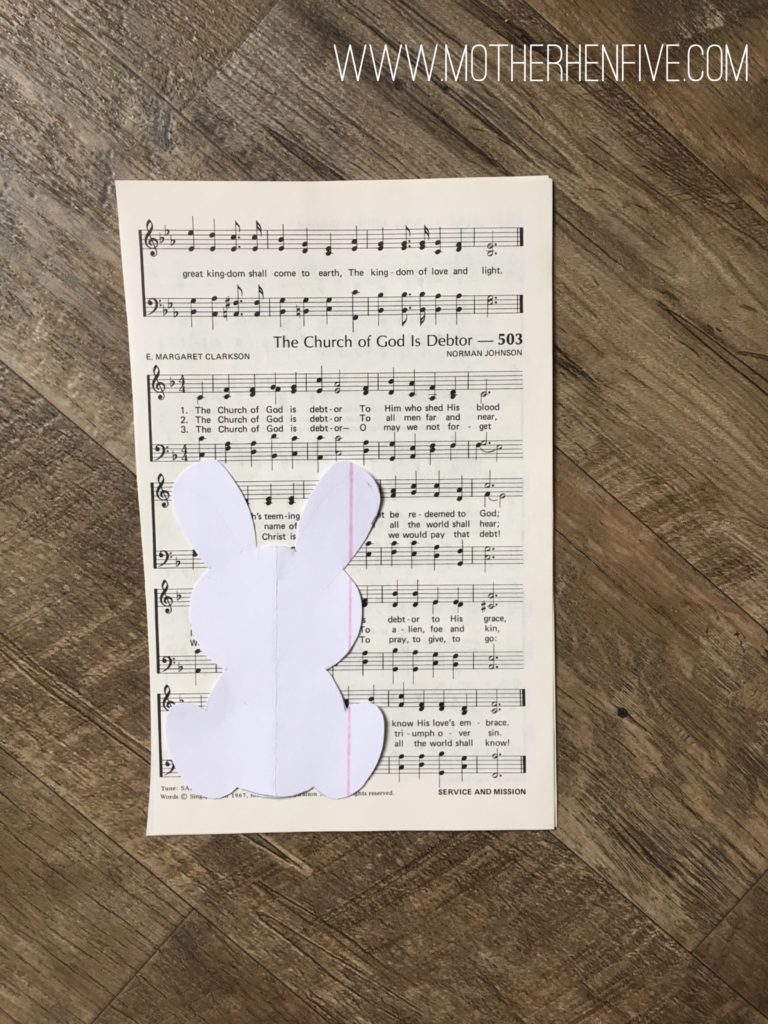
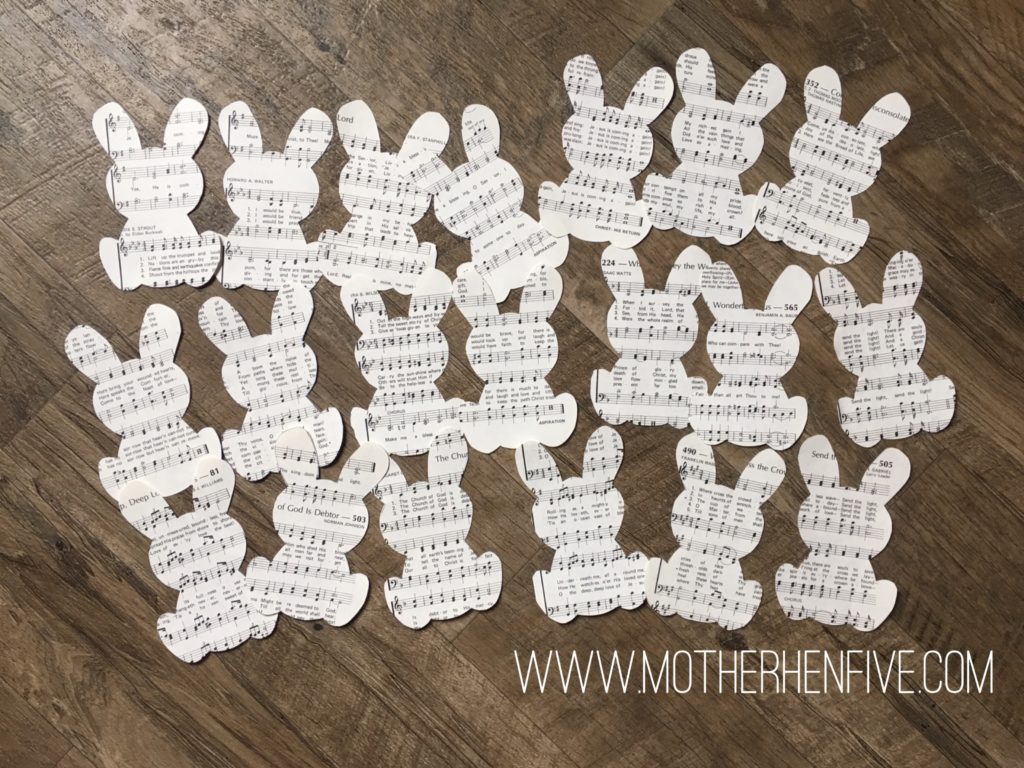
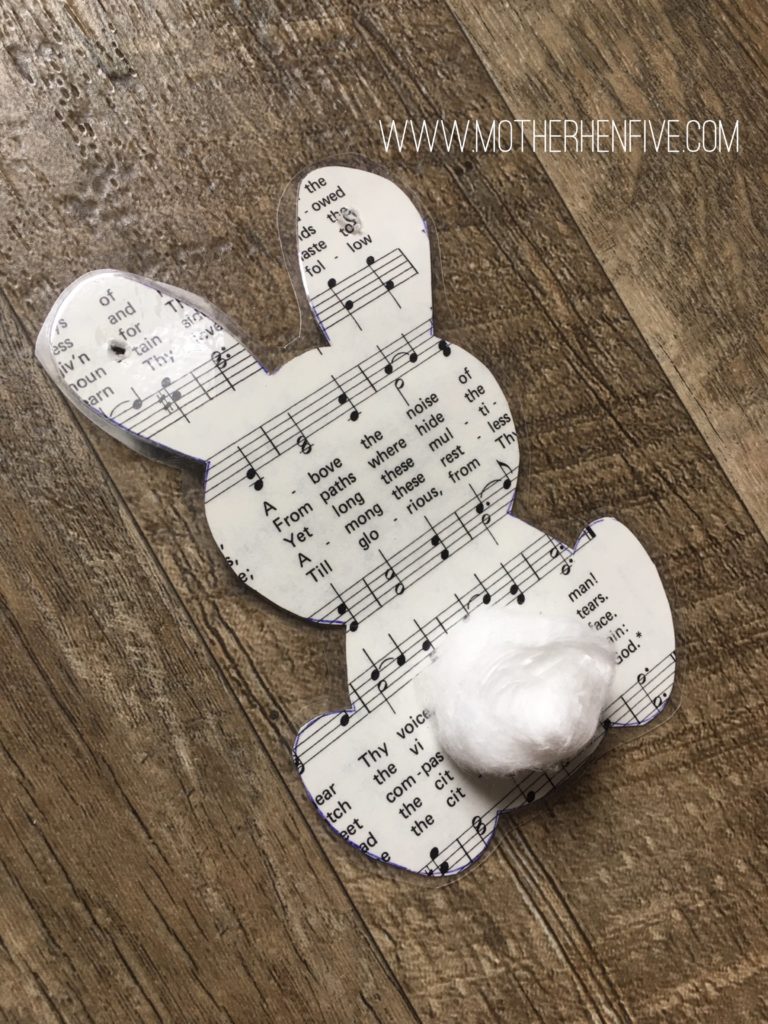
Start by finding a bunny pattern you like! I just googled and did my best to copy it from my phone, nothing too special! I traced around the pattern on the song sheets and cut them out.
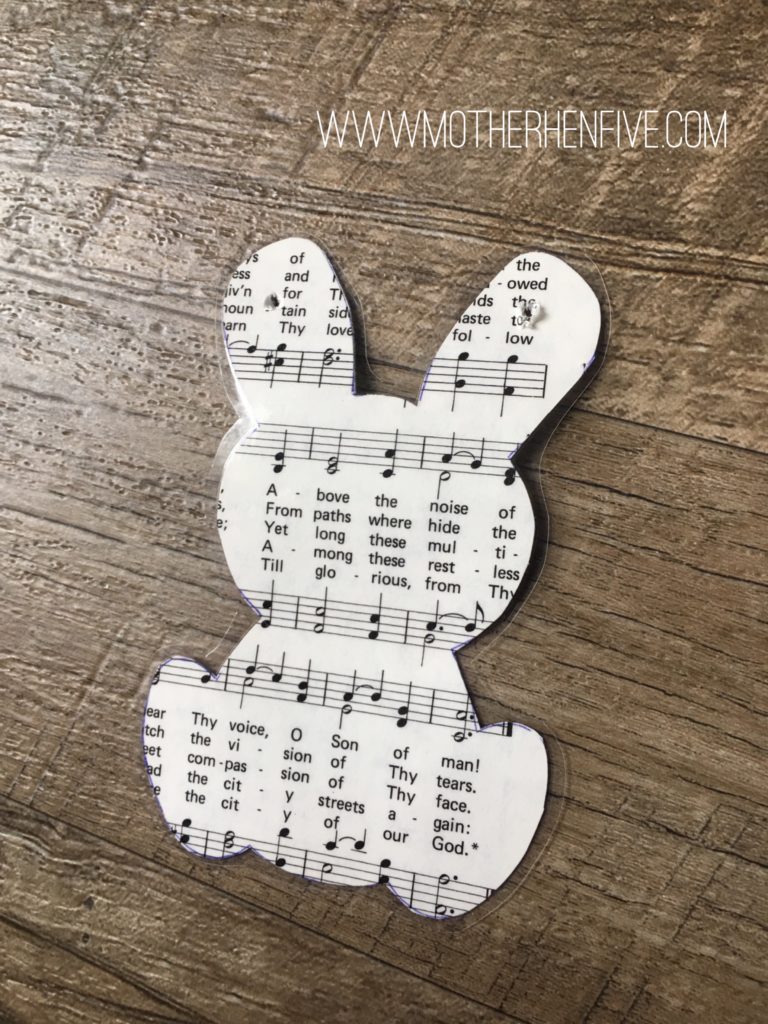
Once you have them all cut out, you can laminate them. I chose to laminate so they would last forever, but you do not have to do that step. If you laminate, you can poke holes in the ears after you laminate. (I do not have a hole punch, so I just poked holes with my scissors.) Glue cotton balls on them for their tails and let them dry before you string the garland. I did cut my cotton balls in half, because I felt like they were bigger than the bunny was! But if decide to do a larger bunny the full size cotton ball will work great!
Now it’s time to string the garland up! This will take the most time, if you did not use a hole punch! If I do this again, I will purchase a hole punch to make the stringing process quicker and easier! But it worked and still turned out super cute!! Here is the end result!
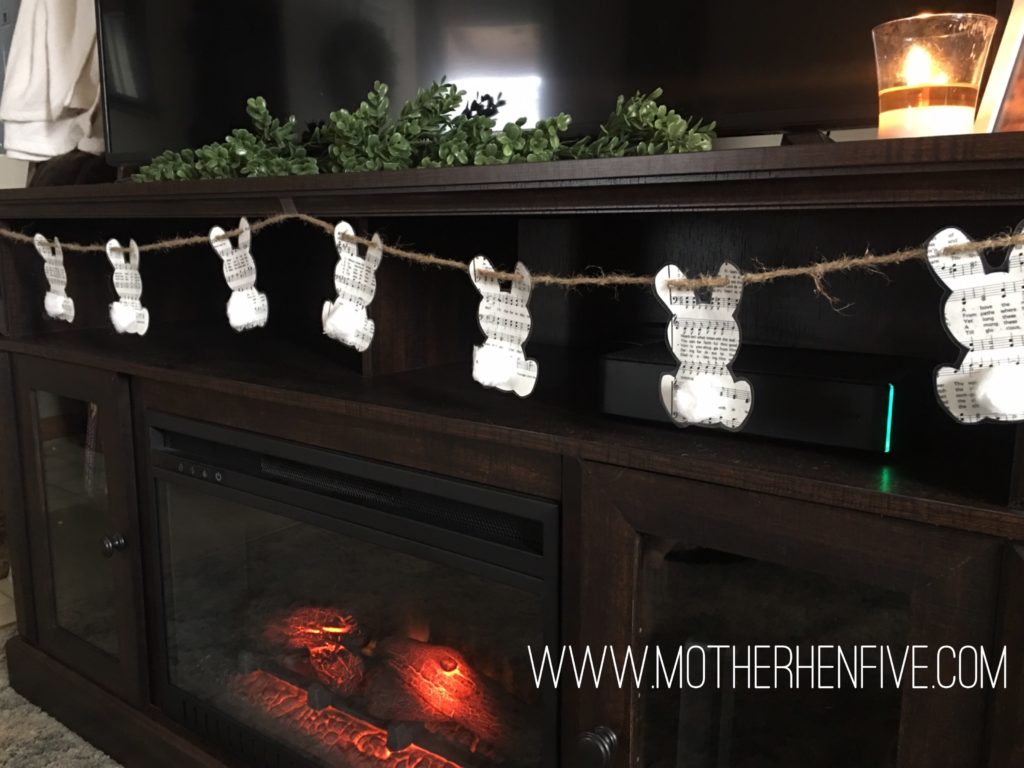

Happy Spring! Comment below with a picture if you venture out and try the bunny garland!
