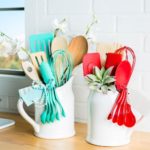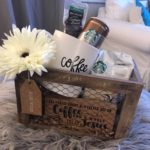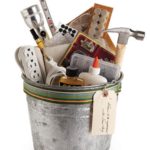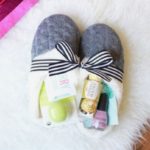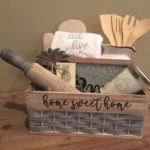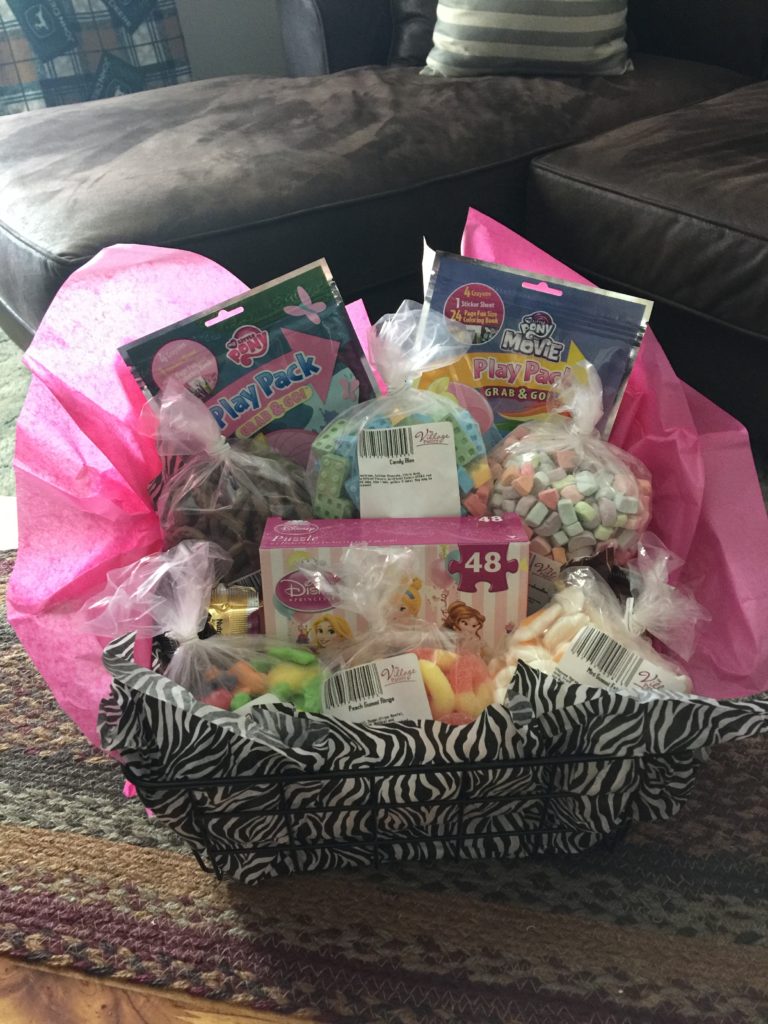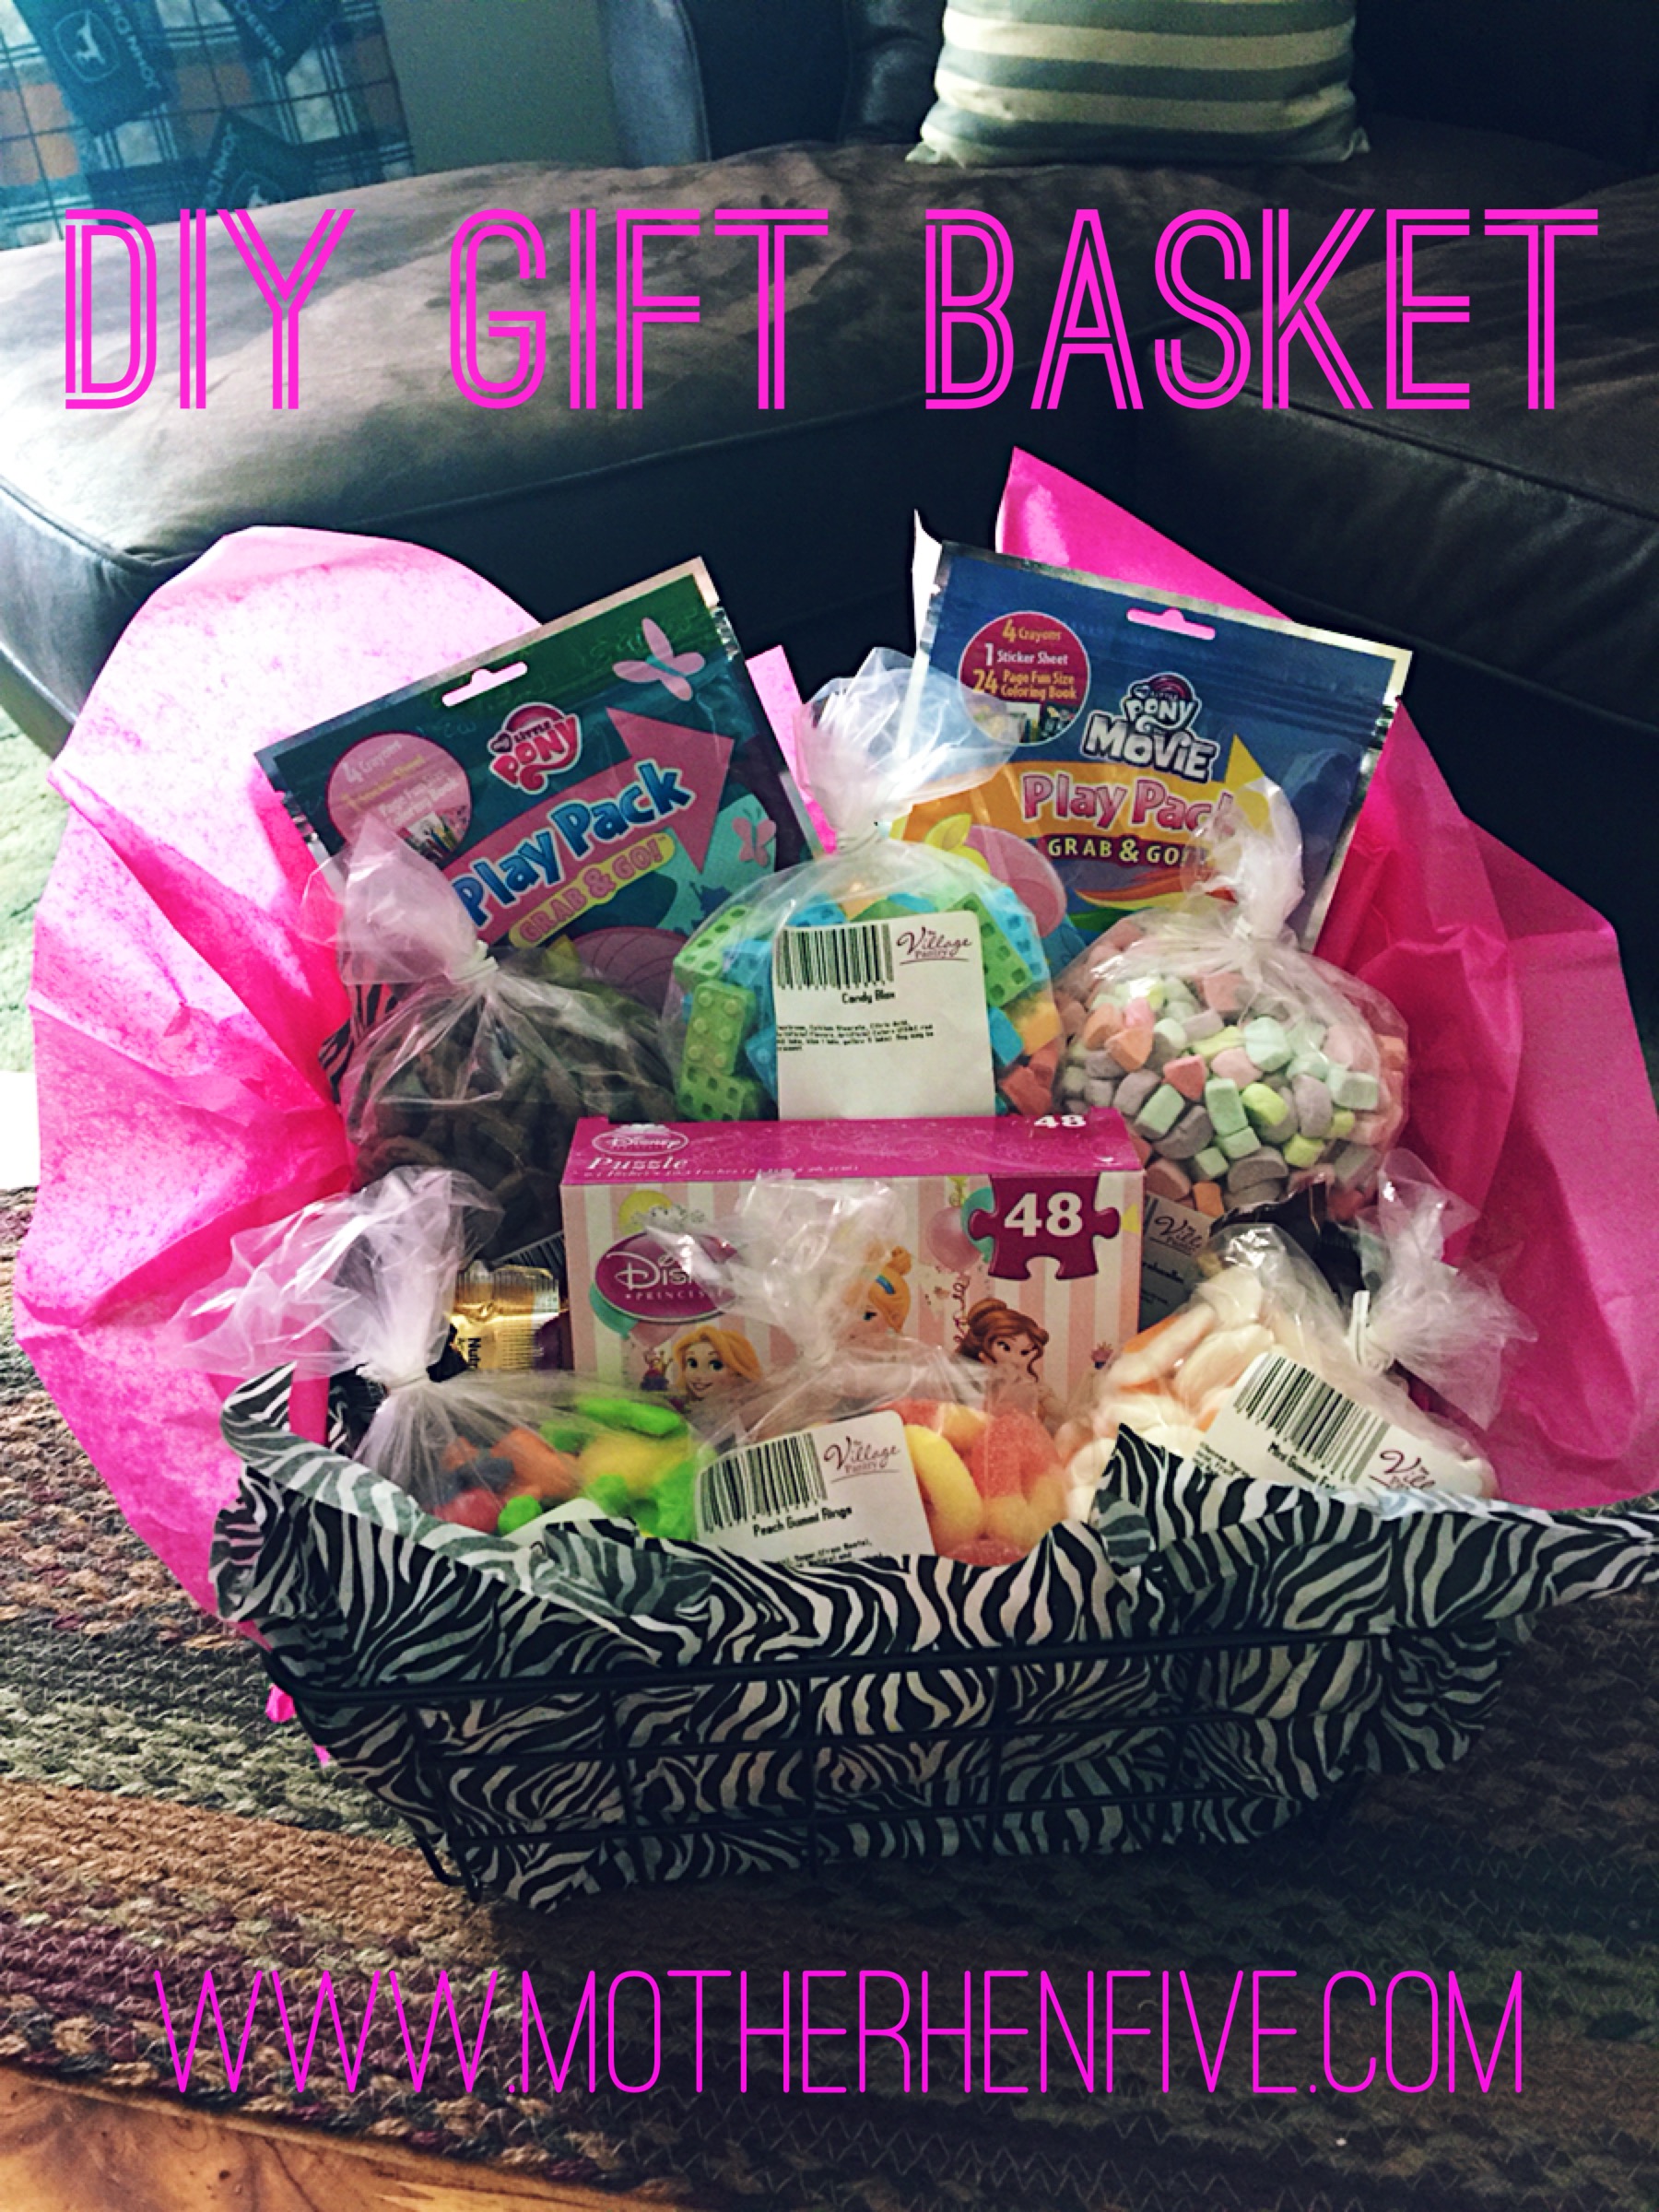
Growing up in a Pastor’s home, we did a lot of entertaining! Even now, one of my favorite things to do is put together the baskets for the special guests that come through. Gift baskets tend to be a little pricey so we always put them together ourselves. We recently had a missions conference and hosted one of the single missionaries in our home. My mom put together a little basket for his room. We also had a vacation planned to see one of my best friends (Stacy) in Indiana, and my oldest sister (Michelle) and her family. My grandfather passed away so we canceled our trip, however I already had these baskets put together as a thank you for hosting us in their homes! Here are a few simple tips and ideas for baskets. Gift baskets don’t have to be expensive to look nice and enjoy! I spent less than $20 on each of these baskets and they were so fun to shop for and put together.
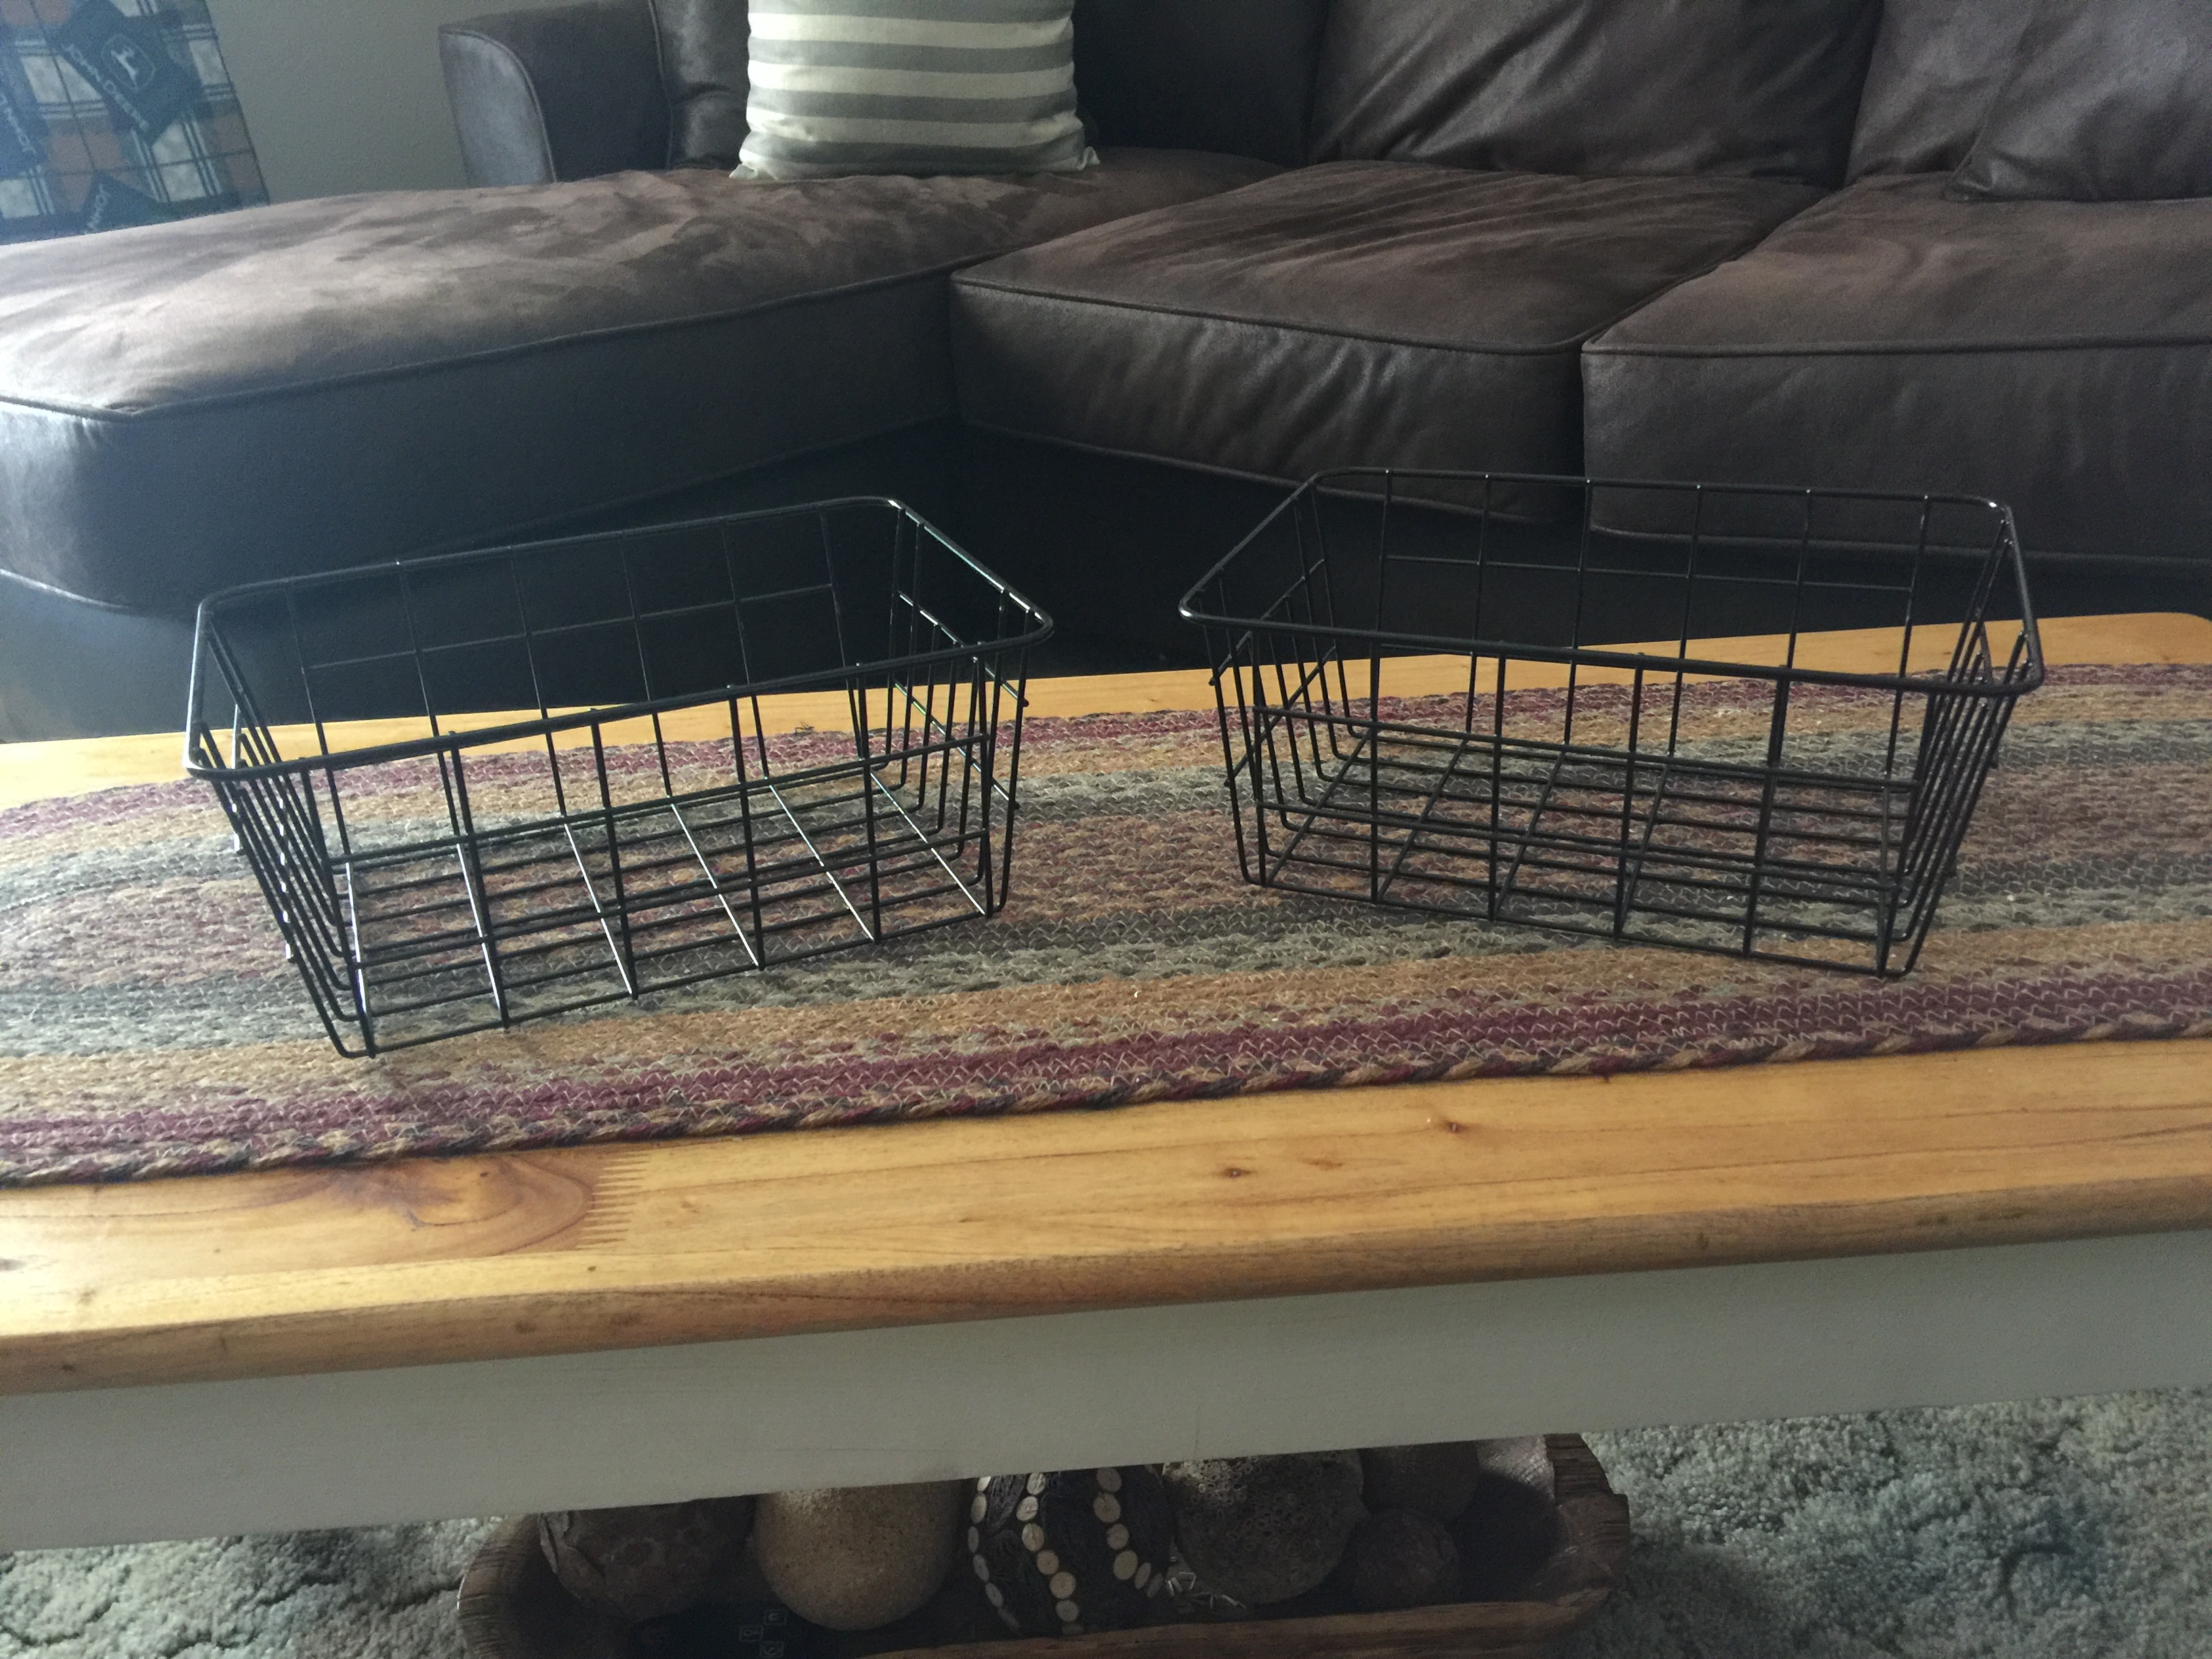
First you need to pick what you will be filling. It doesn’t have to be a basket! It can be pretty much anything that can hold objects. Here are a few examples: basket, bucket, boot, cup, purse, jar, etc. BE CREATIVE…or use pinterest!
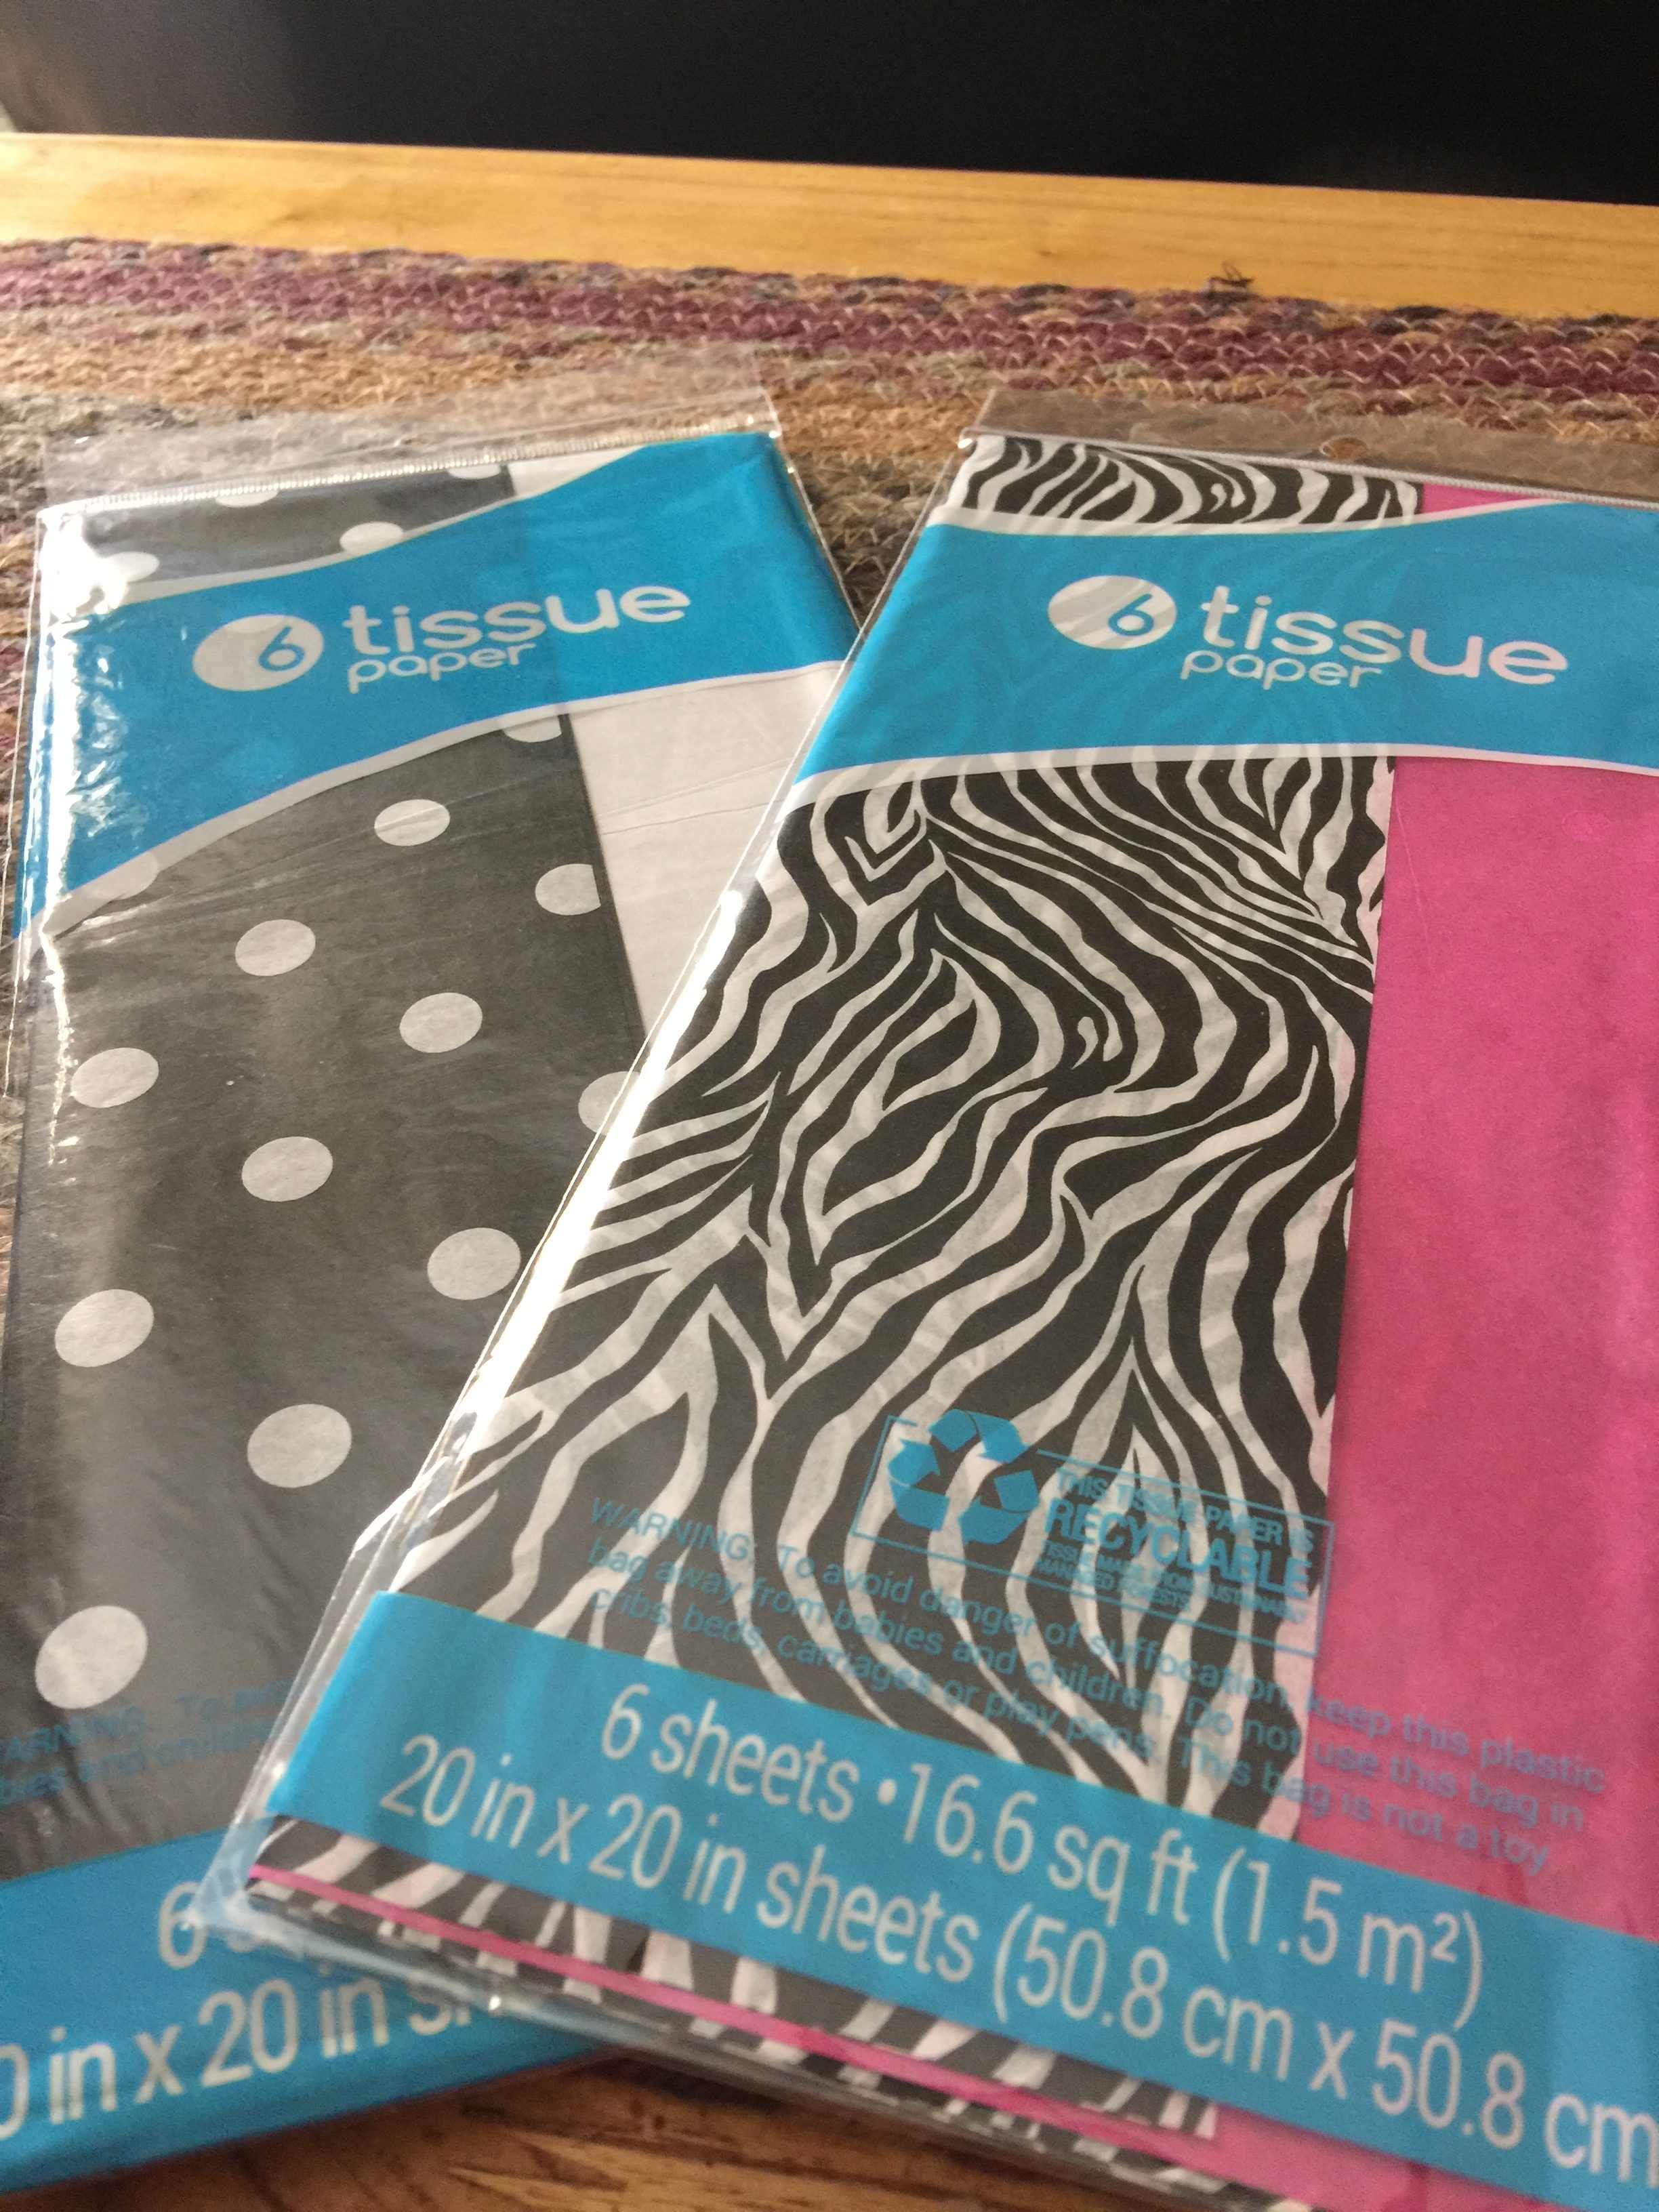
Next choose your filler. Sure…you can do a basket without filler, but the basket looks so much prettier with filler. I have used several different kinds of filler (paper shreds, material, etc.), but tissue paper is my go to. It cheap and super easy to find! Don’t be afraid if you are doing a bigger basket to use two fillers, maybe material for the bottom and shredded paper in-between items.
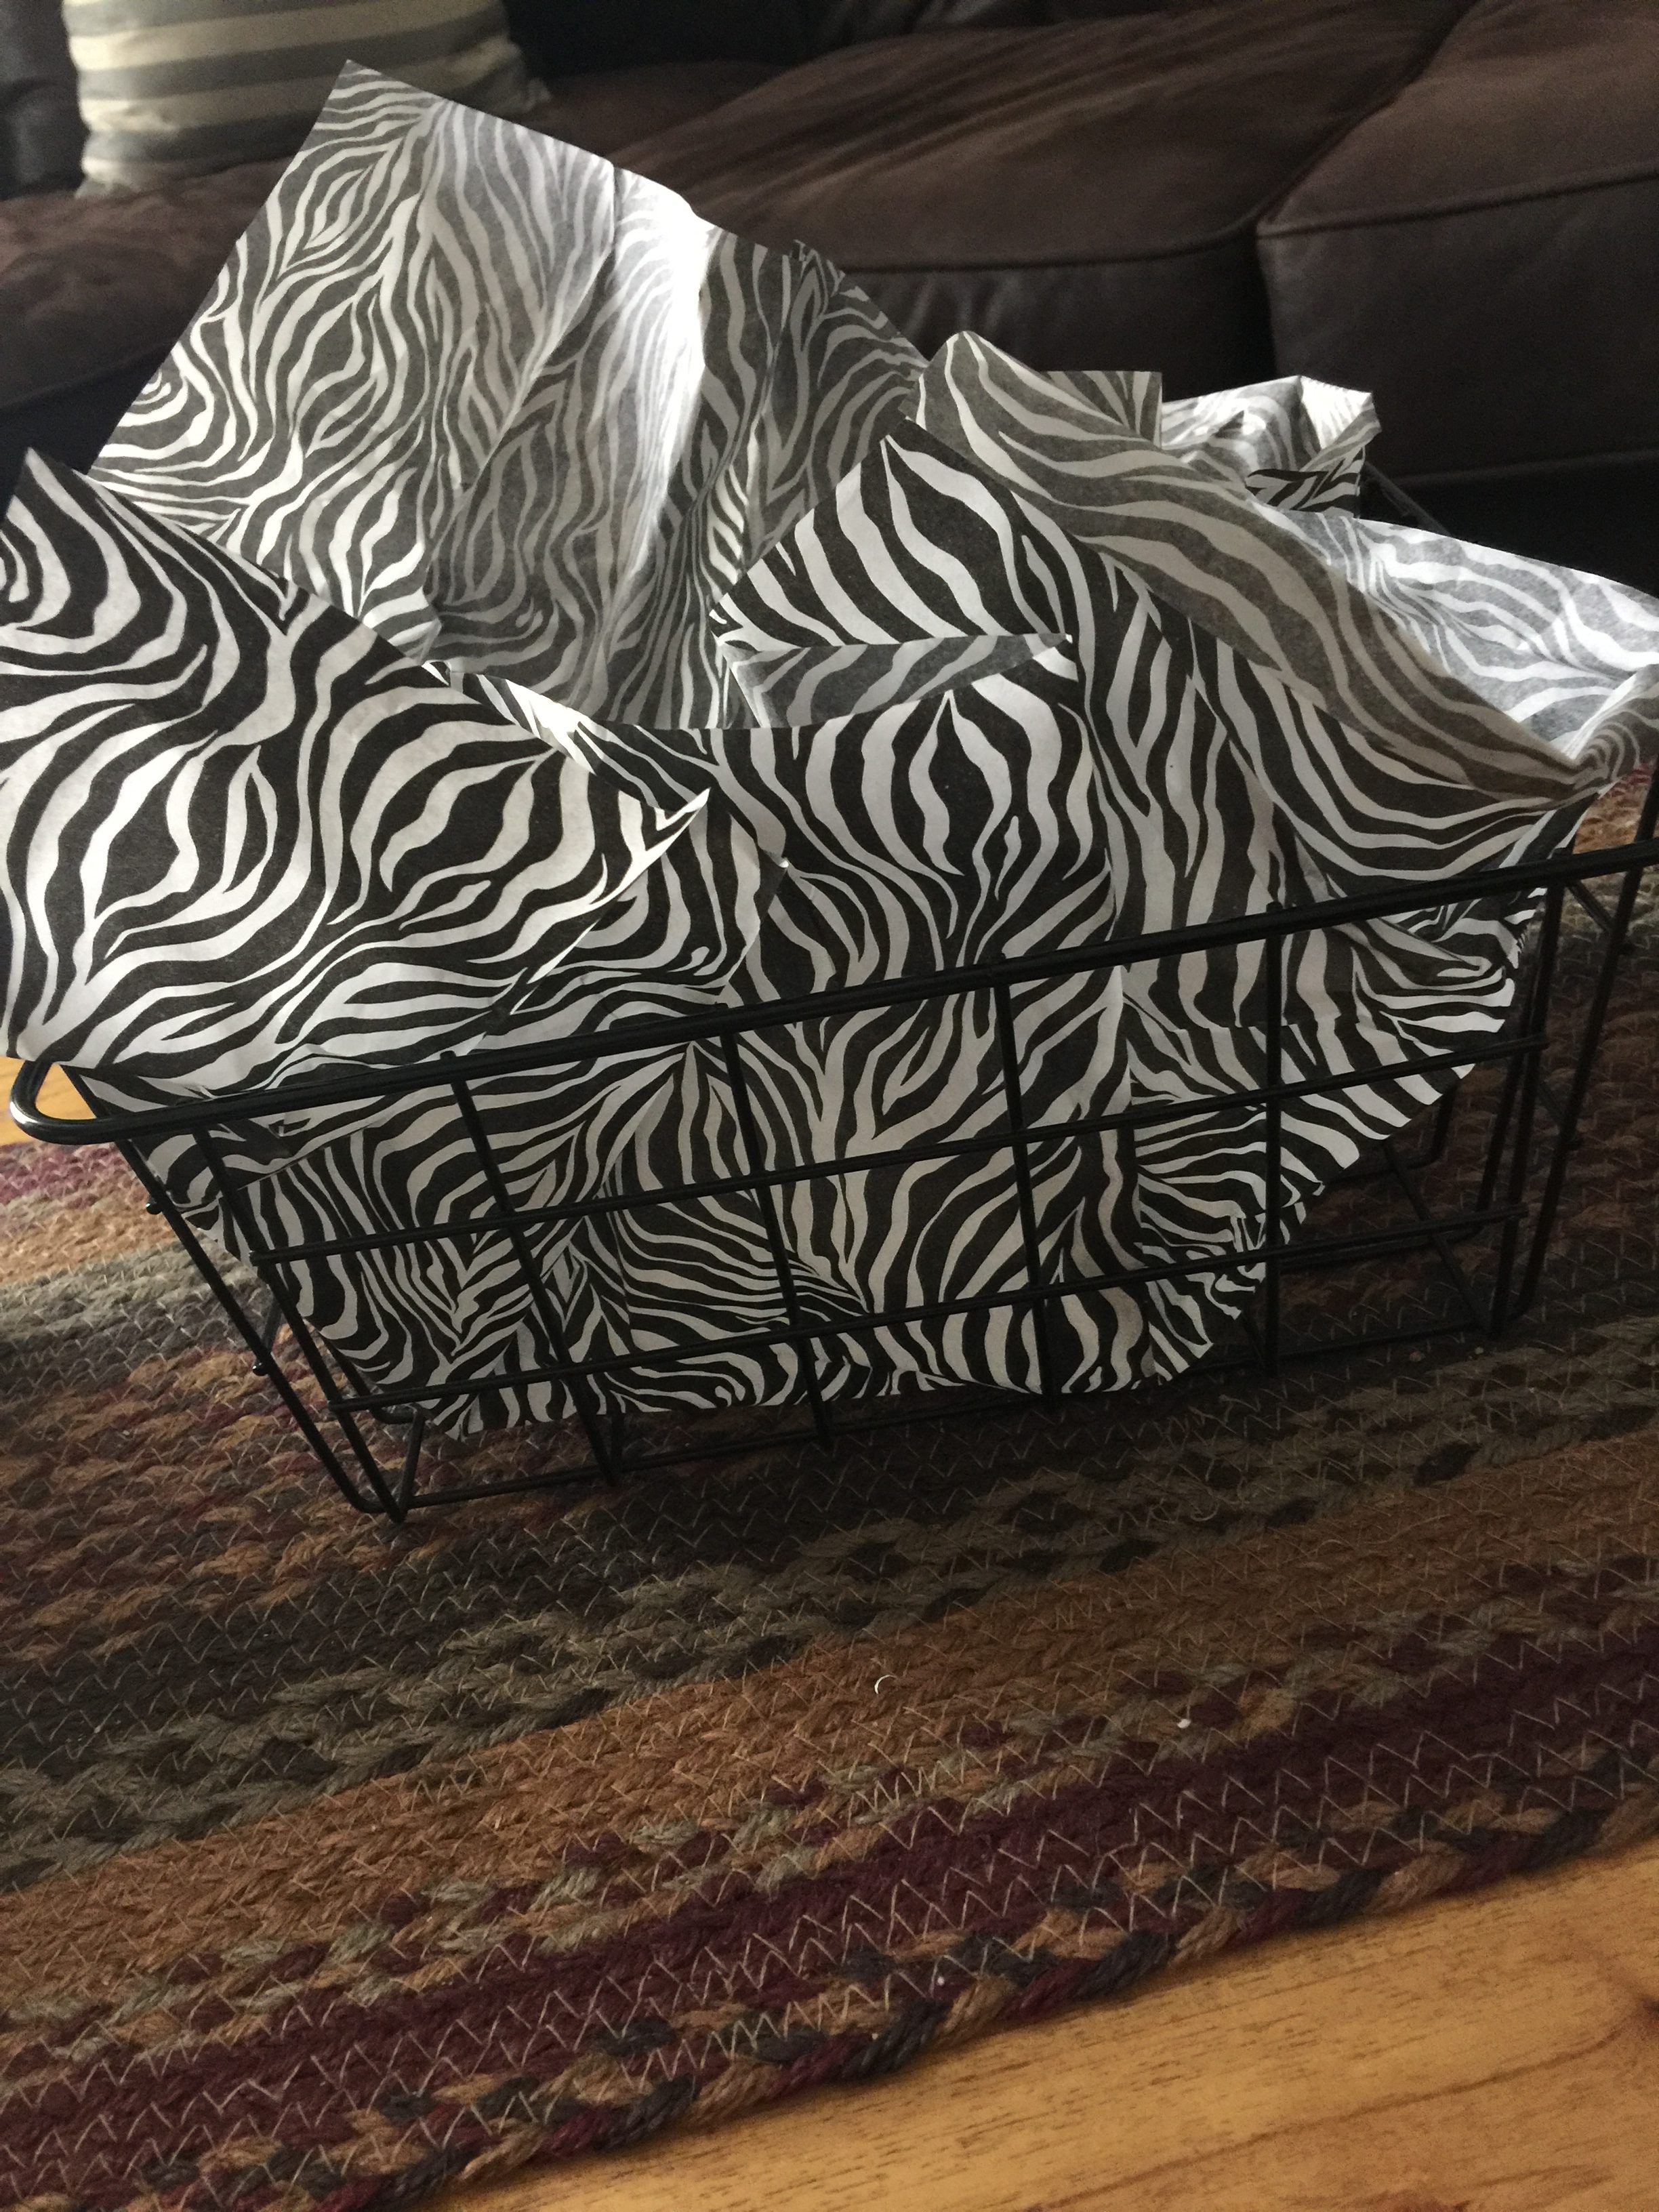
I always put some of my filler on the bottom before starting to fill the basket, and then I will add some more around objects when I’m finished.
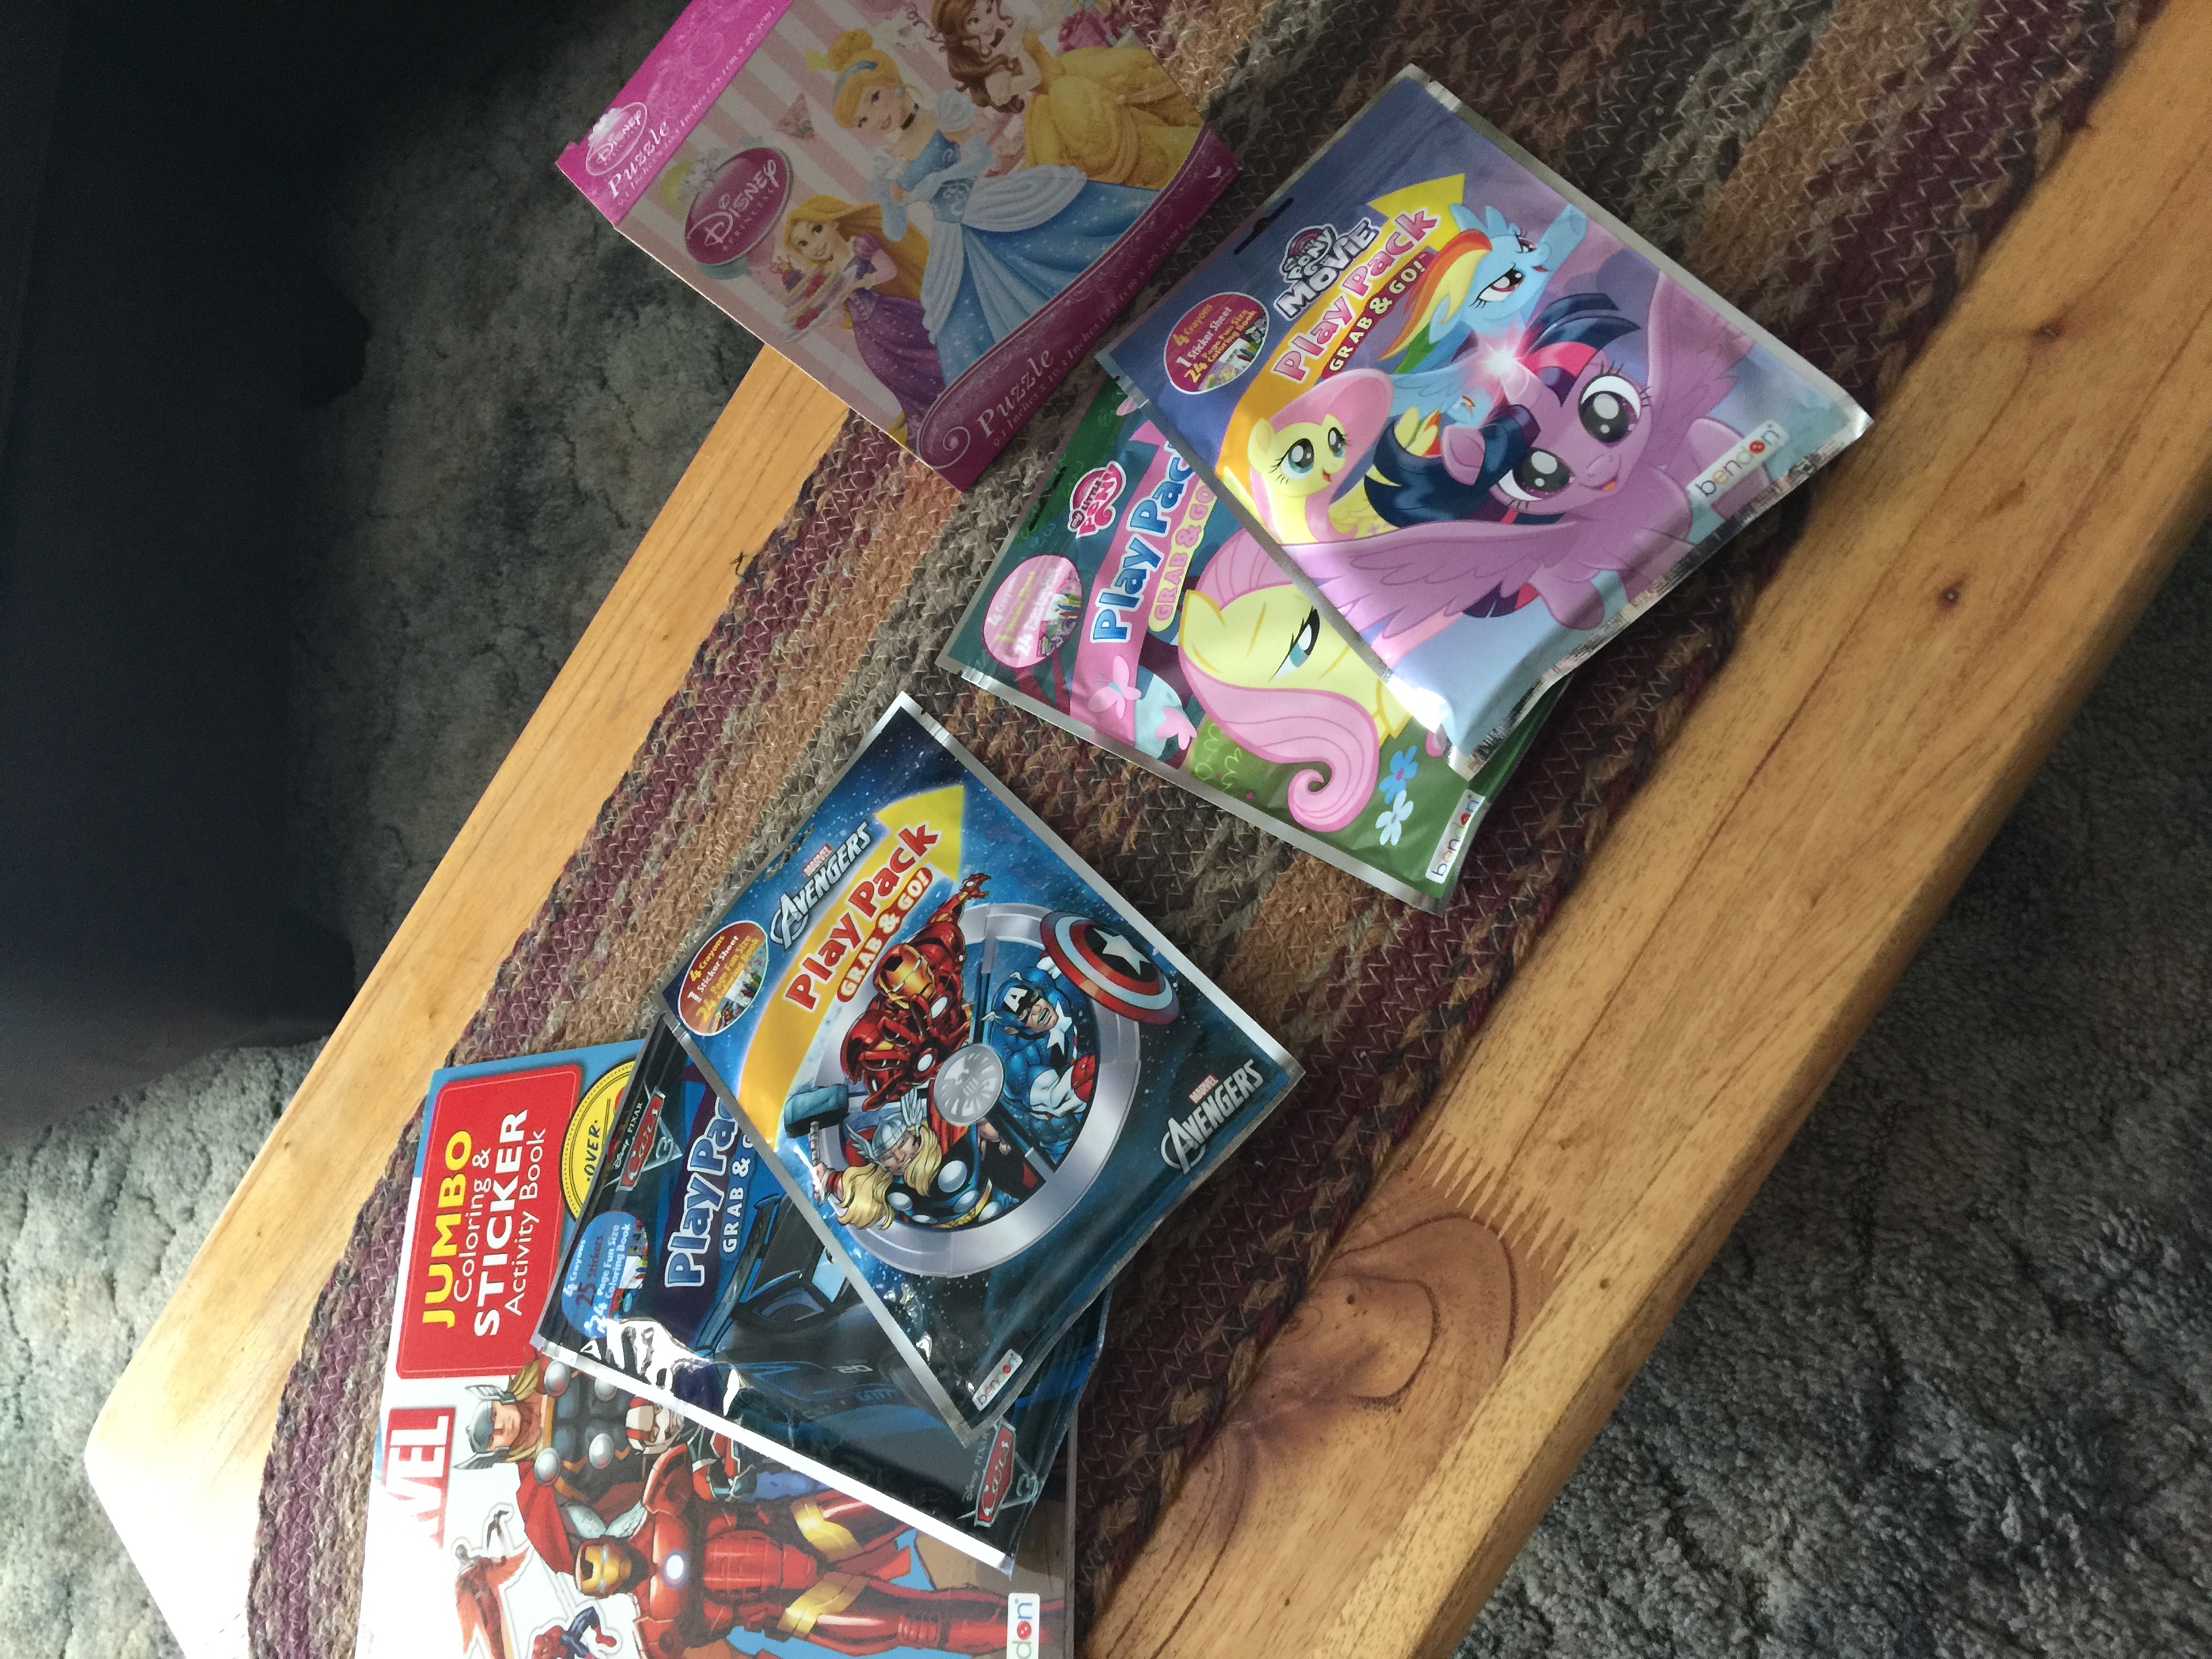
No let’s talk about the objects you will be filling your basket with. Try and get objects that are different sizes and textures. This is going to help when you fill your baskets. If you get all the same size and texture, it will be really hard to get everything to set right in your basket. You can see from my baskets, there is quite a bit of variety. They were super easy to throw together.
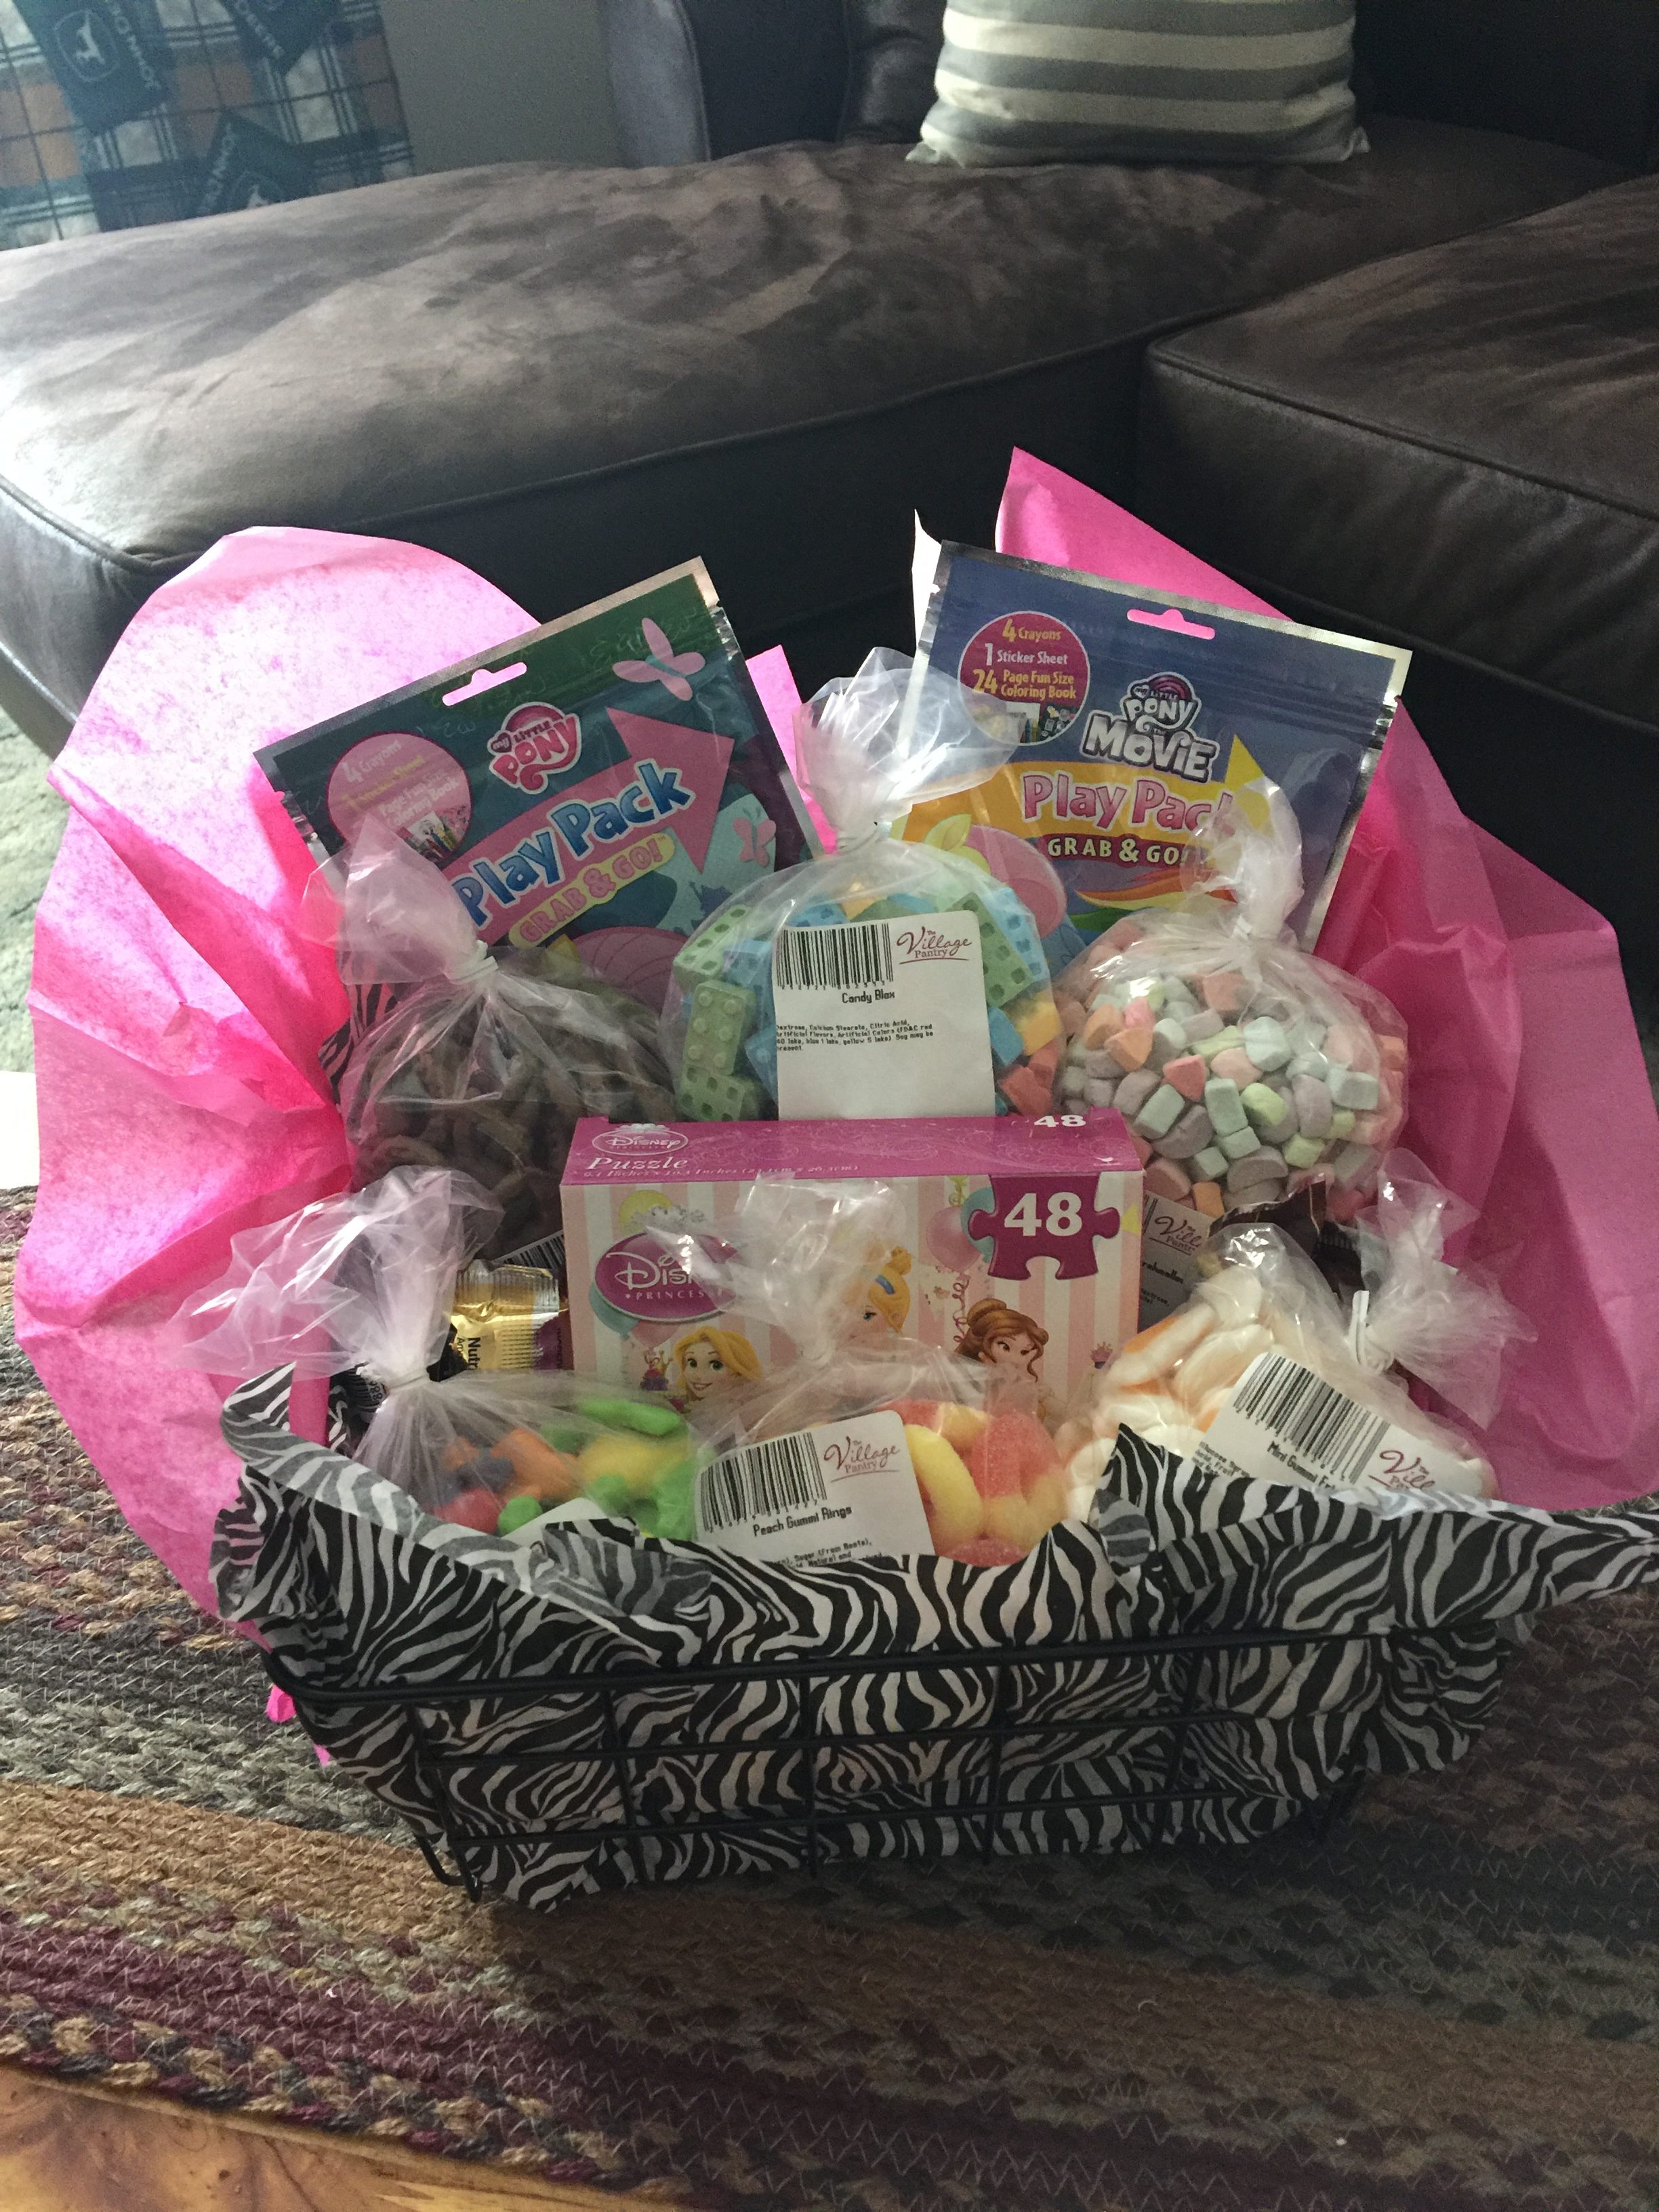
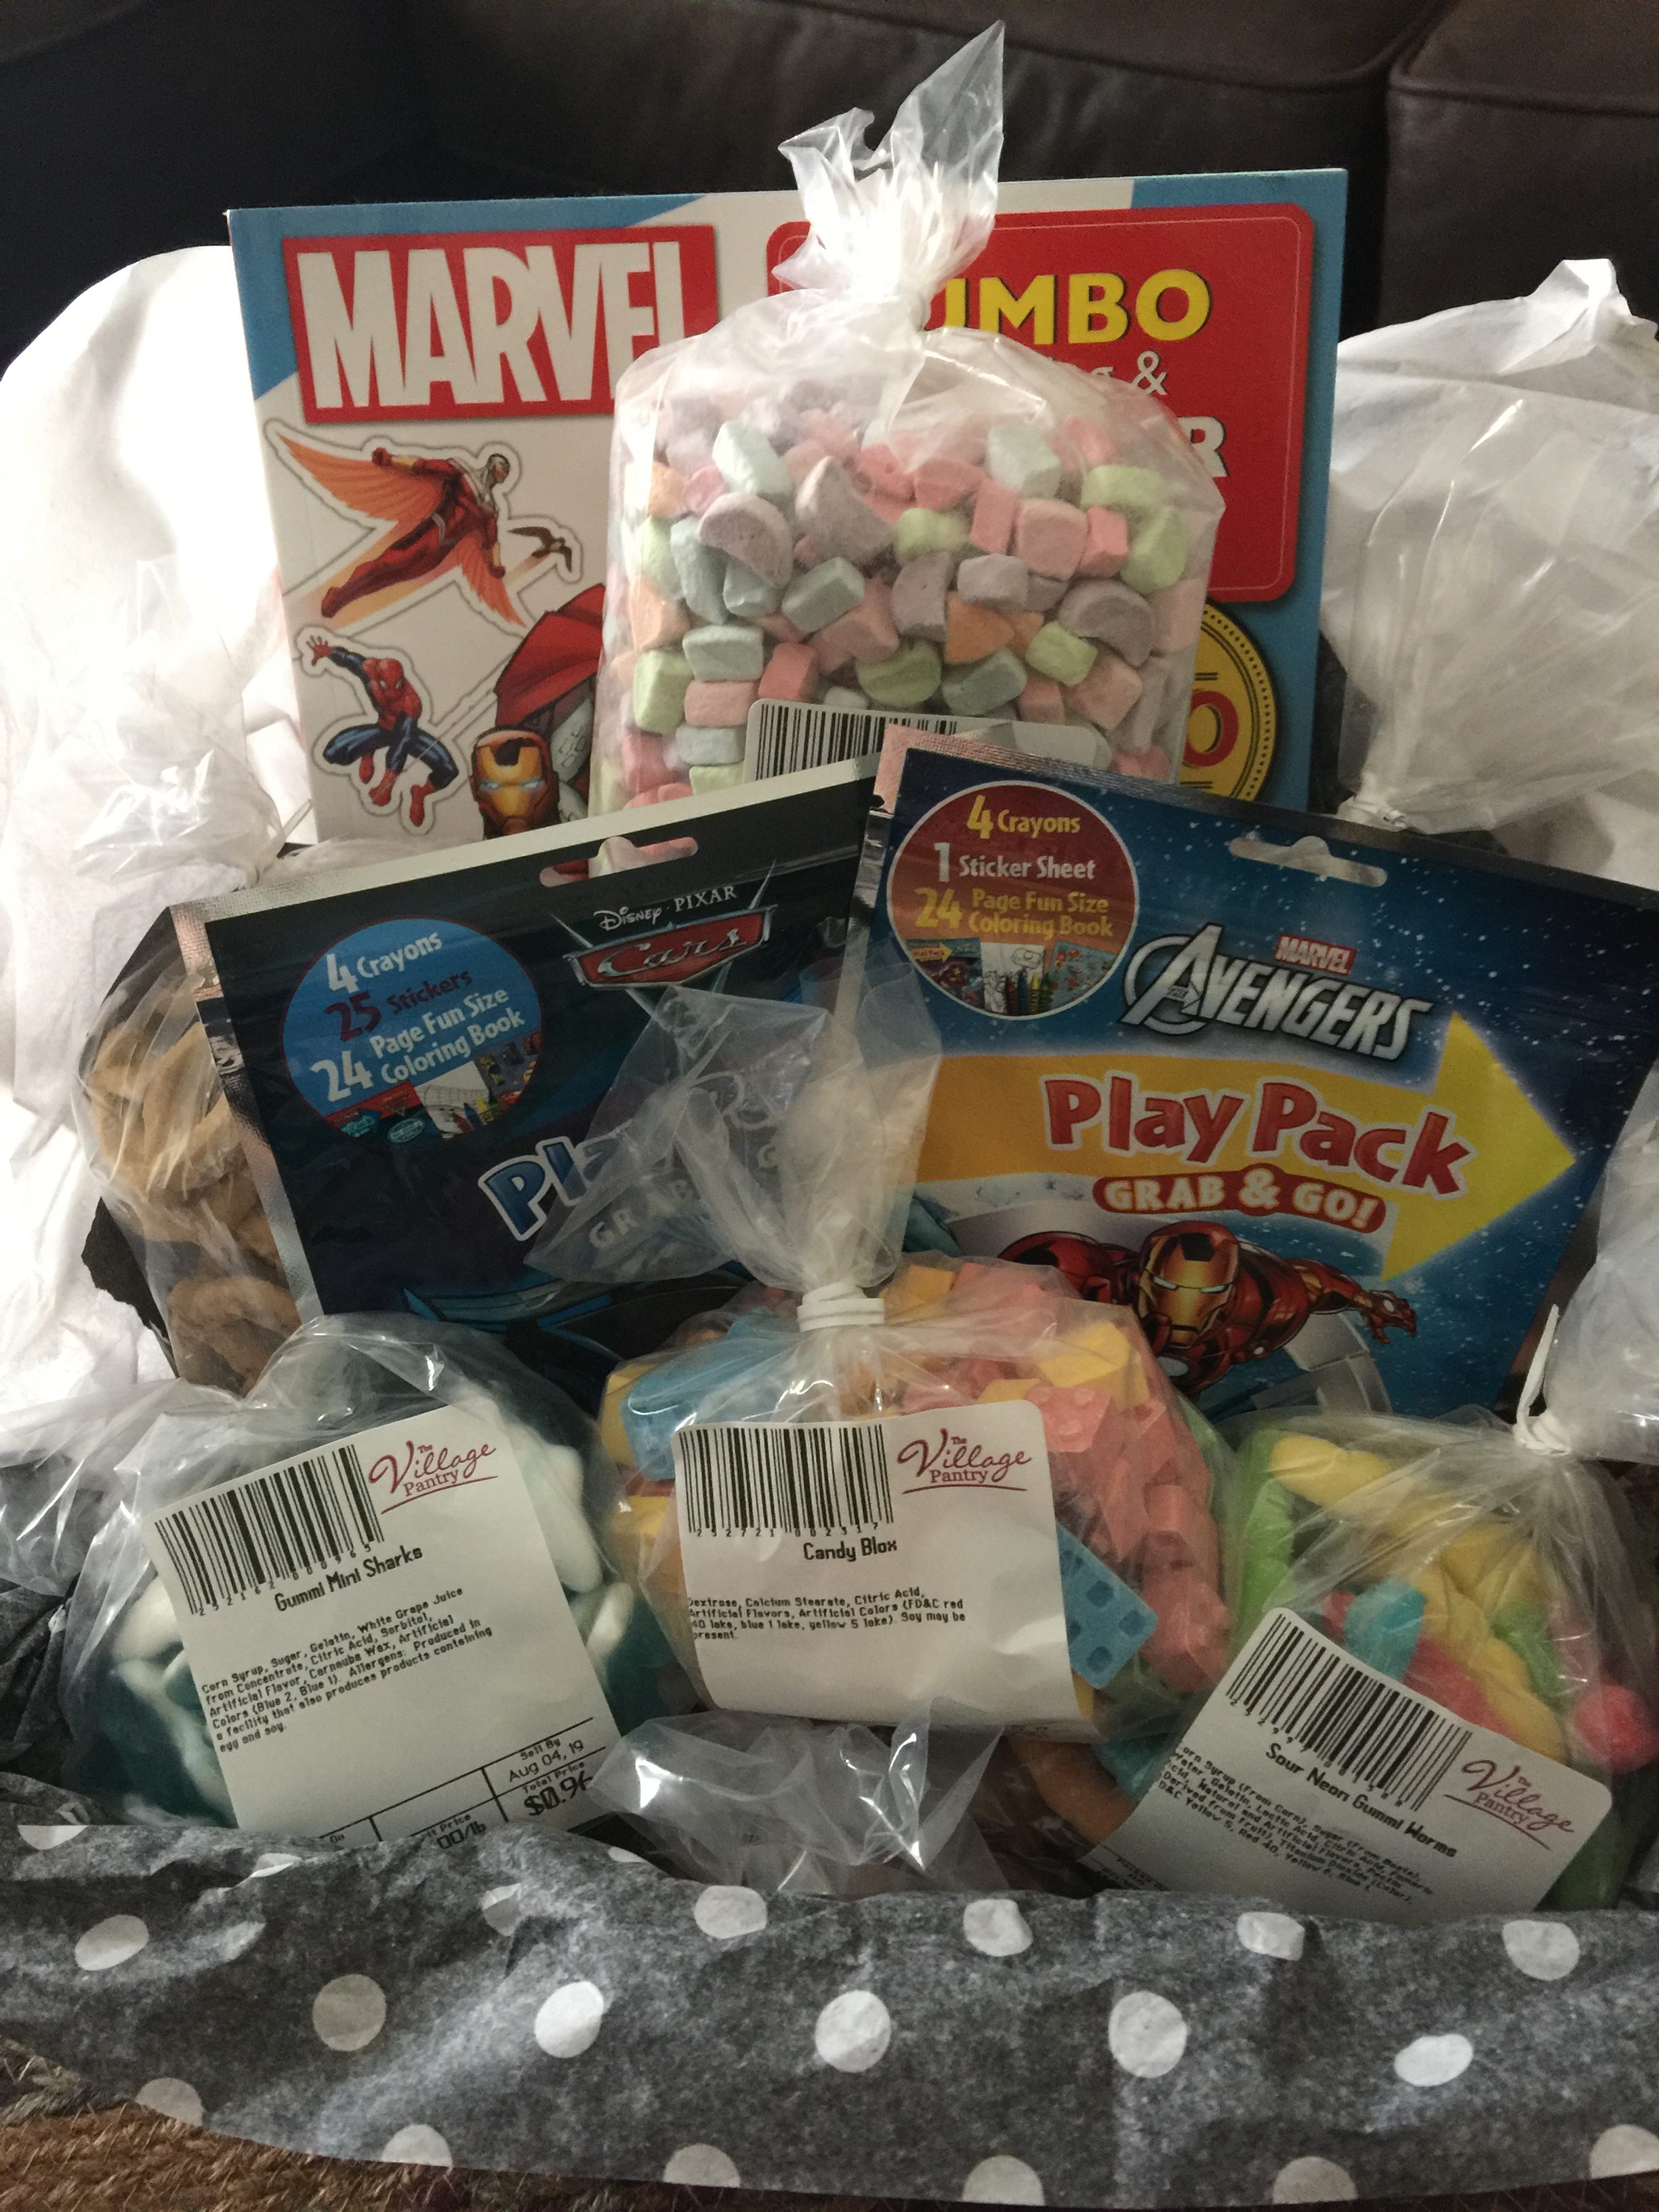
Here are the finished products! (Sorry for the quality of pictures! A camera is on my “wish list” before AnnaLynn arrives.) I chose not to wrap mine. However, if you want to really finish off a basket and make it look amazing, wrap it in clear cellophane wrap and finish it off with a bow! Just a few tips and tricks to make you into a gift basket pro in no time! Below are a few ideas of other gift baskets, with unique “basket” or theme ideas! Think of someone who needs a basket and have fun giving. Be sure to share a photo of your finished product with us! Message us on the website or our facebook page! I would love to see what you come up with!
